Page History: Unisaw Bullet Motor Repair
Compare Page Revisions
Page Revision: 2012/01/20 22:52
'THIS PAGE IS STILL UNDER DEVELOPMENT. PLEASE DO NOT MODIFY UNTIL THIS HEADER IS REMOVED'This page shows some of the main internal components of a single-phase Unisaw repulsion-start/induction run (RI) "bullet" motor. The page covers three major elements in troubleshooting and repairing internal components:
- Turning the commutator and undercutting the mica
- Fabricating and replacing the shorting necklace
- Replacing the brushes
The approaches and tools shown in the original entry on this page were done in a hobbiest garage-shop, using moderate level tools such as a lathe, and do not require significant machinist skills or equipment.
Turning the Commutator and Undercutting the Mica
The first place to start when any repulsion-start/induction-run motor is having starting difficulties is to turn the commutator to eliminate any carbon build-up on the copper bars and to even out any imbalances or uneven surfaces. This is a fairly common procedure that only takes a few minutes with the rotor assembly mounted on a metal lathe.
The space between the copper bars on the commutator is a softer, non-conductive material called "mica". In order to ensure clean contact between carbon brush surfaces and the copper bars, the top surface of the mica should be slightly recessed below the surface of the commutator bars. After turning the bars down, a user often needs to then remove a small top layer of the mica to create that recess. This process is called undercutting the mica.
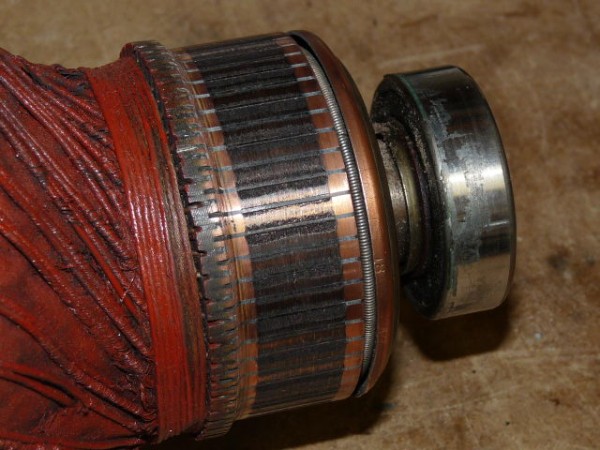
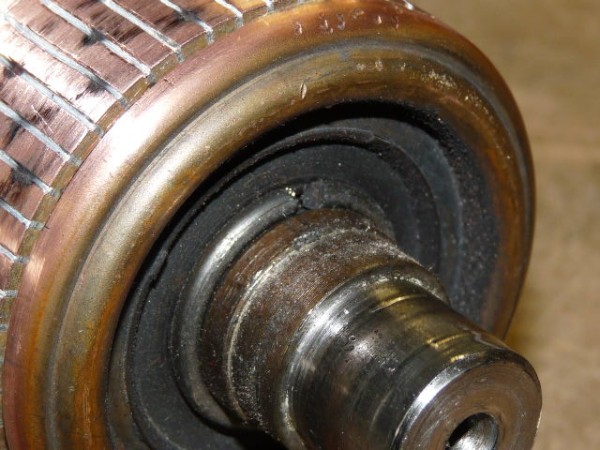
Here is the commutator end of the rotor from a 1hp RI bullet motor. The carbon build-up on the copper surface is obvious, and it's also apparent that the commutator has been turned down several times over the many years.
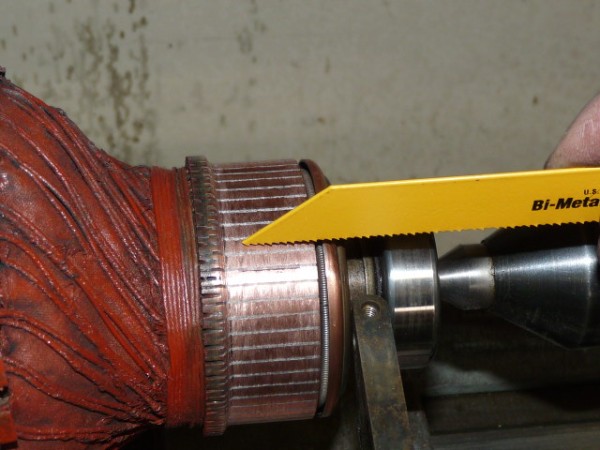
After spending a few minutes on the lathe turning the commutator, it is much cleaner and smoother. However, in this instance, the surface of the mica has also become essentially flush with the top of the bars. Depending on the size of the gap, you can use a small blade and hand cut the grooves lengthwise. In this case, the photo below shows using the tip of a metal blade from a reciprocating saw.
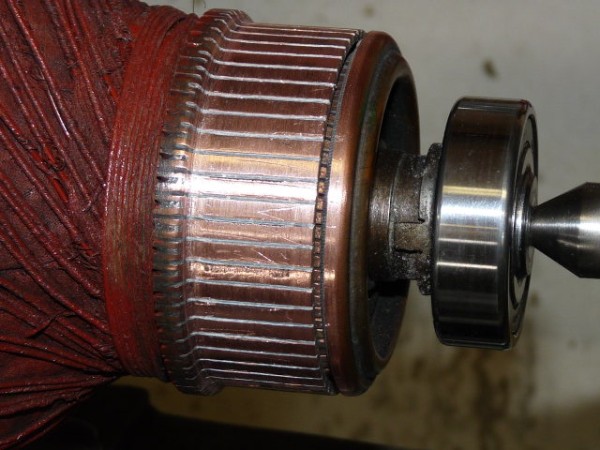
Once done, the commutator looks far better than it did half an hour earlier.
Fabricating and Replacing the Shorting Necklace
The "shorting necklace" is a circular spring, sometimes called a garter spring, inside the commutator, and is often one of the most common failure points on a Unisaw RI bullet motor. It is also one of the most troublesome parts to locate for replacement. These The following discussion shows how to remove the shorting necklace, assess its condition, and one way to fabricate a new shorting necklace from extension spring stock.
Start by removing the bearing on the commutator end of the rotor assembly.
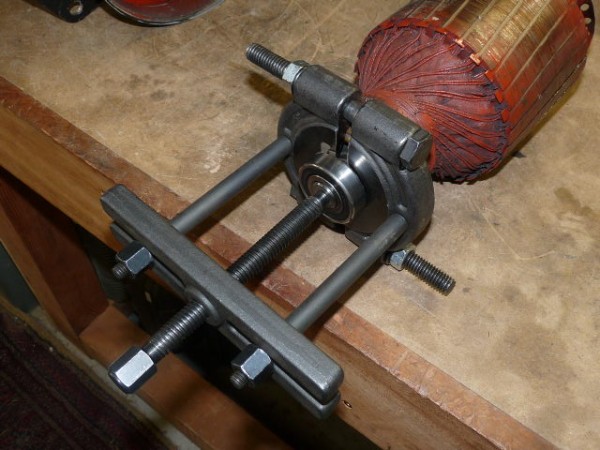
Behind the bearing, the necklace and contact ring assembly is held in place by a very strong and tight snap ring. There may be different designs of the snap ring, but regardless, this part is often difficult to remove due to its awkward location and its tension. A pair of snap-ring pliers are an almost essential hand tool needed to get the ring loosened from its anchor groove. Use caution when trying to pry it out with items such as screwdrivers, picks, or punches, as you may damage the part or perhaps even injure yourself if it slips.
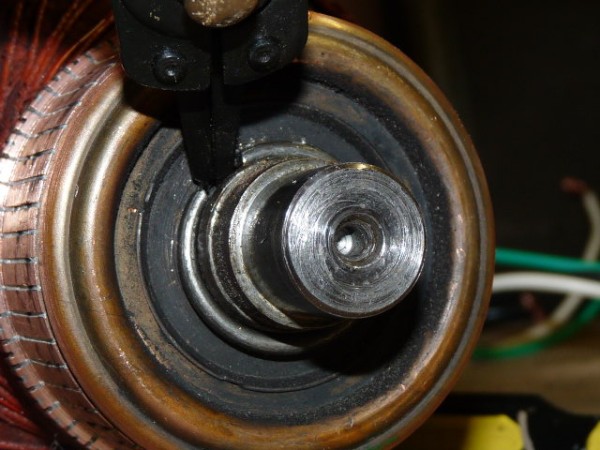
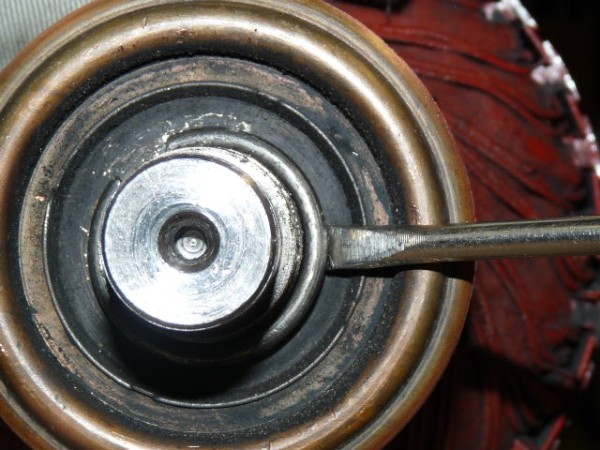
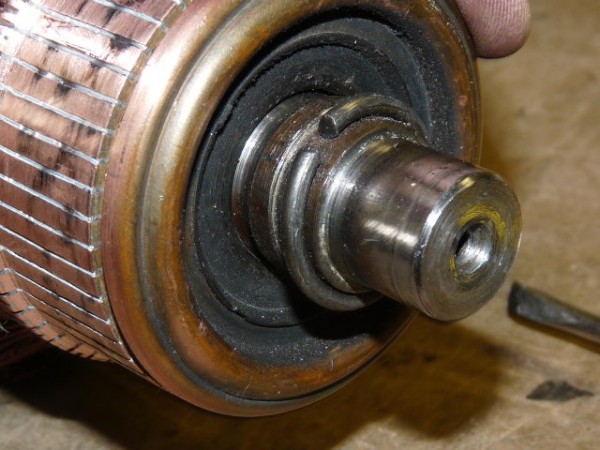
Once the snap ring is removed, the contacts and necklace assembly slips off easily.
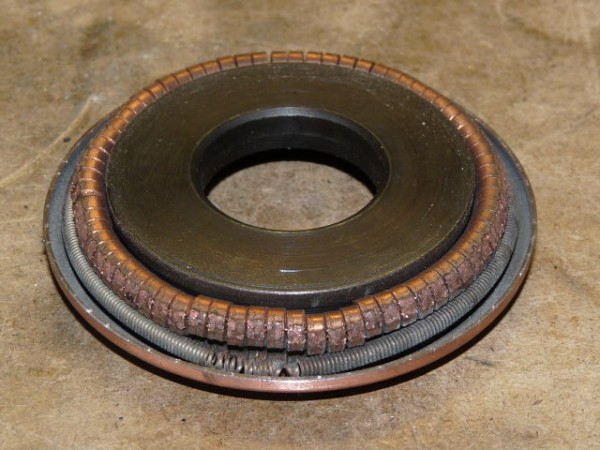
In this case, it is apparent that this "spring has sprung", as seen by the deformed section of the necklace where it has lost its strength to hold the contacts tight together, or "closed."
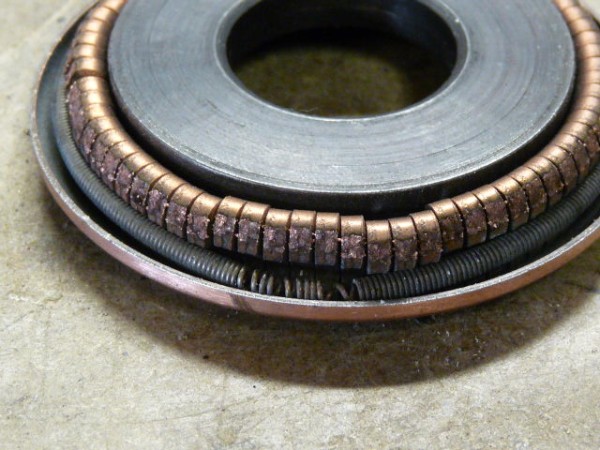
The next three photos show what the contacts look like without the spring, and how they should be positioned respectively when closed and open.
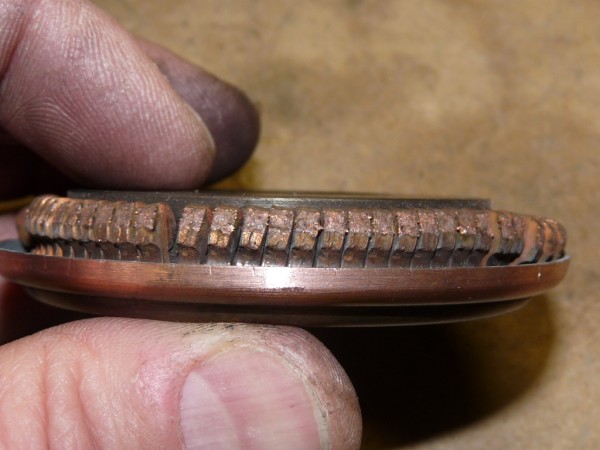
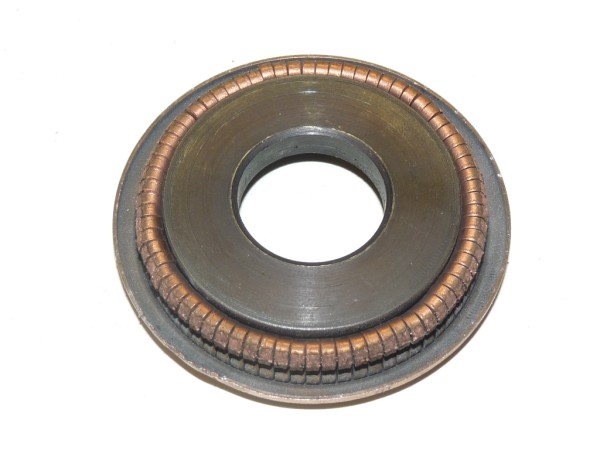
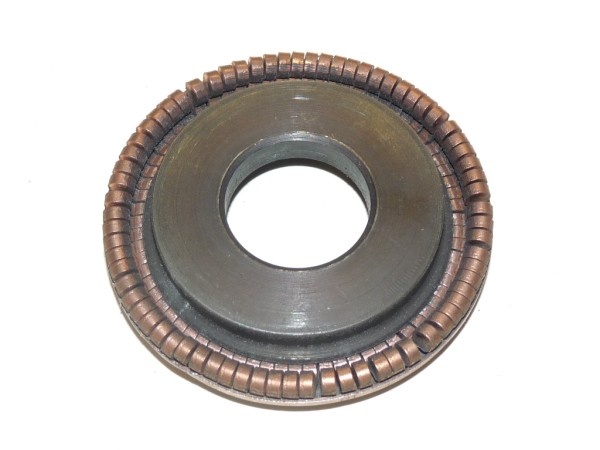
Given what is seen looks to be a damaged necklace, one may want to test the spring and contacts to see whether they are properly "throwing out" to open the contacts as the motor spins up. Premature opening of the contacts may cause the motor to try to shift into induction run mode too soon. More importantly, a non-smooth or inconsistent opening may cause the motor to have a conflict between the respective repulsion start and the induction run modes. In other words, it is important that the ring open in one smooth and consistent motion so that the switch between modes can be made quickly and completely.
While many users may not be able or interested in running a speed test, this section shows how a bad necklace can throw out improperly and one way of testing the RPMs at which the spring releases to open the contacts.
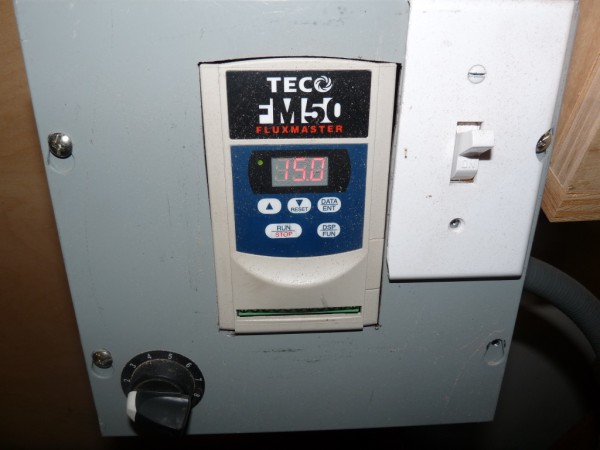
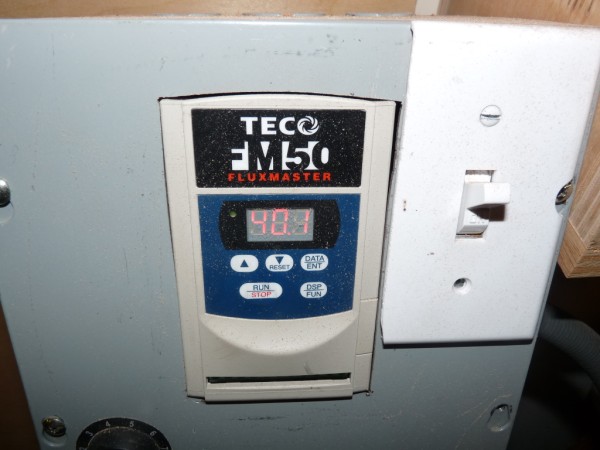
The contact/necklace assembly was mounted on a stub mandrel that could be chucked into a wood lathe scroll chuck. The lathe is a three-phase lathe powered by a VFD with a digital read-out of the frequency. The manual lathe speed was set to 1500 RPMs at full speed, i.e., 60hz on the VFD.
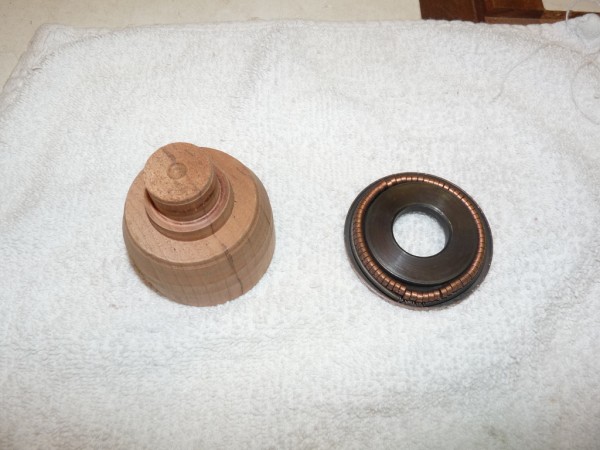
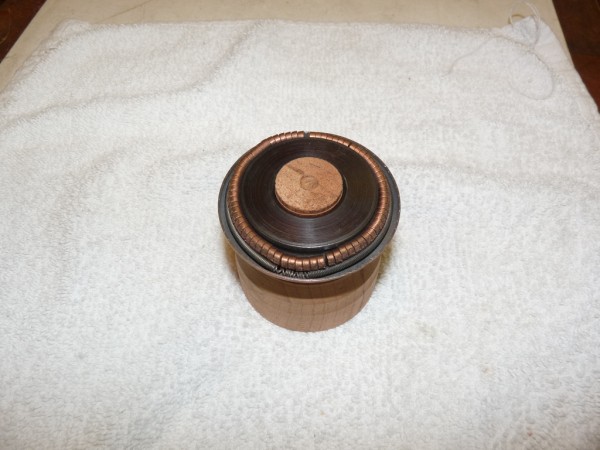
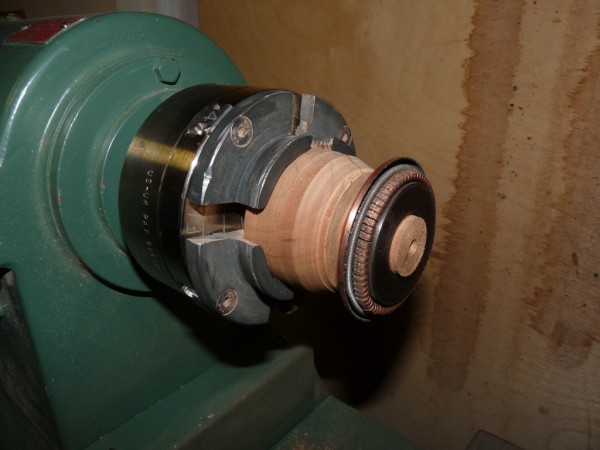
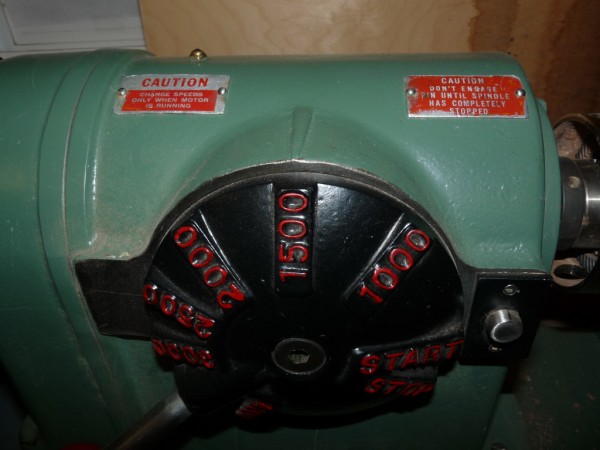
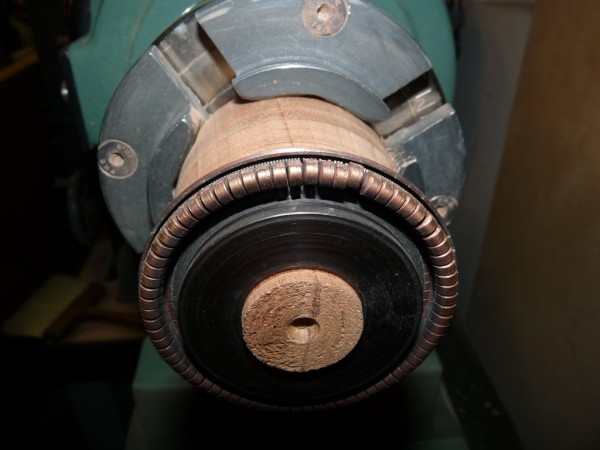
Note that the following photos are taken with the lathe spinning at the speed noted, with the camera able to capture a clear single frame of the spinning chuck/assembly.
At a low speed of 375 RPM (15/60hz at 1500rpm), the spring can be seen to already to be losing a hold on keeping the contacts closed. More importantly, it is apparent that the premature throughout is located at the point of the spring damage.
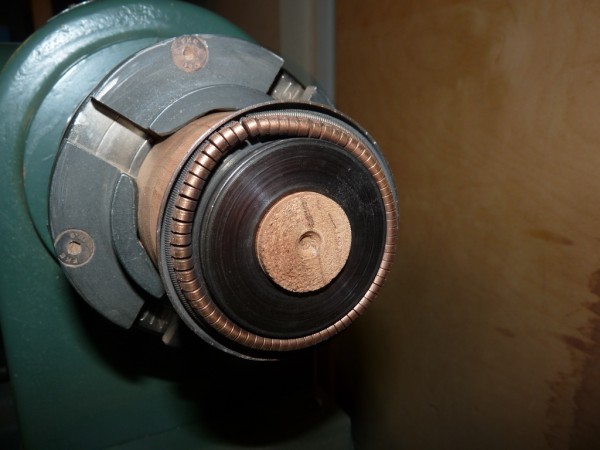
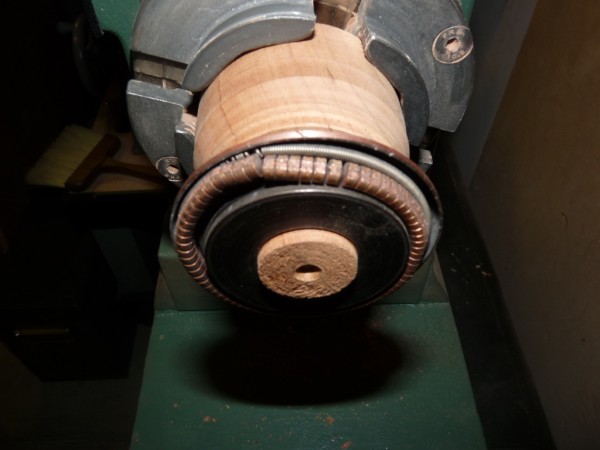
At 500 RPM (20/60hz), the inconsistent throwout continues and is definitely at the point of the damaged spring.
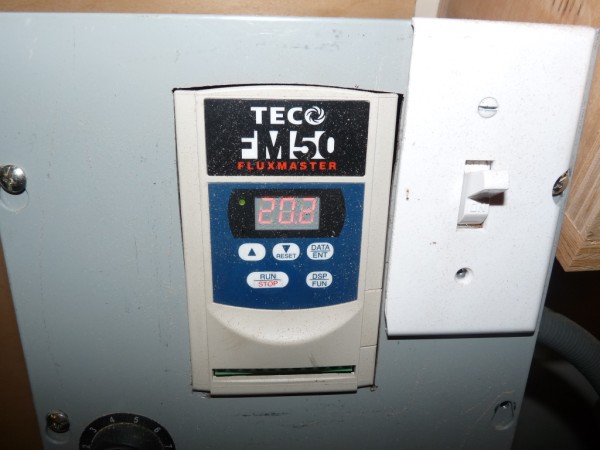
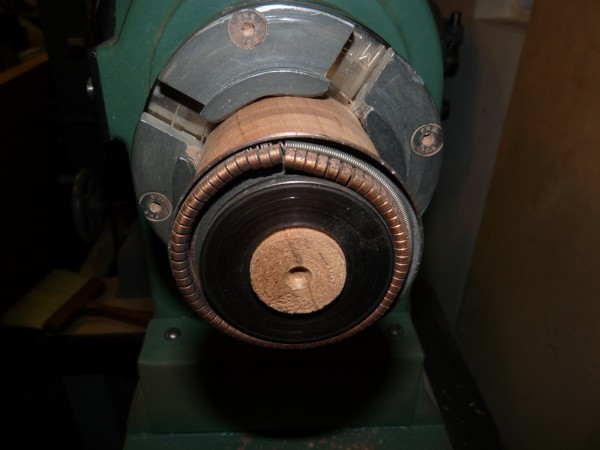
At 750, the inconsistent throwout continues, but expands.
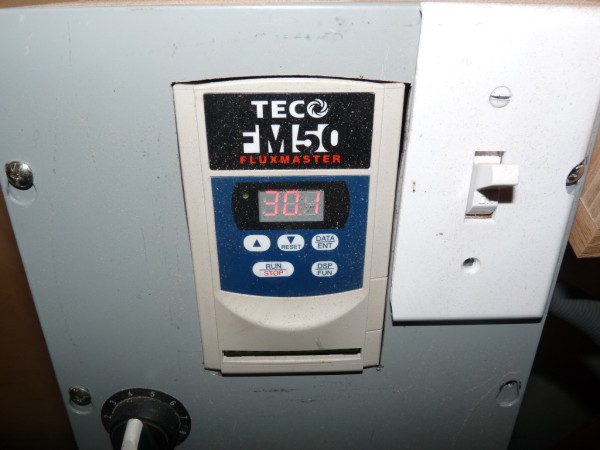
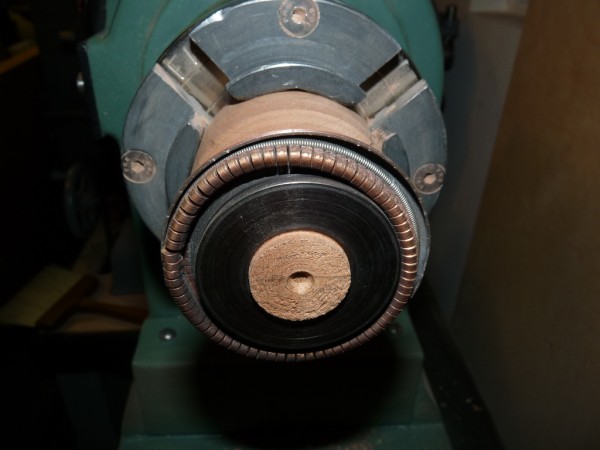
Finally, at 1000 RPM, the spring/contacts have fully thrown out.
So now there is pretty clear evidence that the old, damaged shorting necklace is causing problems for the motor switching from repulsion start mode to induction run mode during start-up. That also means the necklace needs to be replaced; unfortunately, they also are not typically available as an aftermarket item. However, it is possible to fabricate a usable new necklace using purchased small extension spring stock.
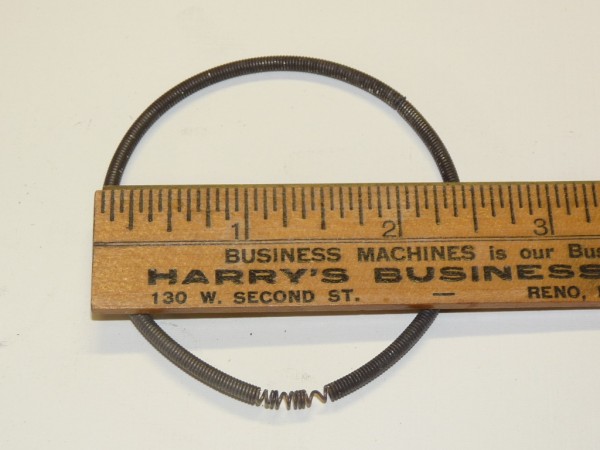
First, it is necessary to measure the length of the spring. Obviously, the easiest way to measure it would be to simply cut it and lay it straight to measure. But sometimes it may be worth measuring it intact as a circle, perhaps to save it for emergency use later or to compare the new one against as a final check on correct size. Note that different motors have commutators of different size, so the dimensions shown here may not be correct for a given motor.
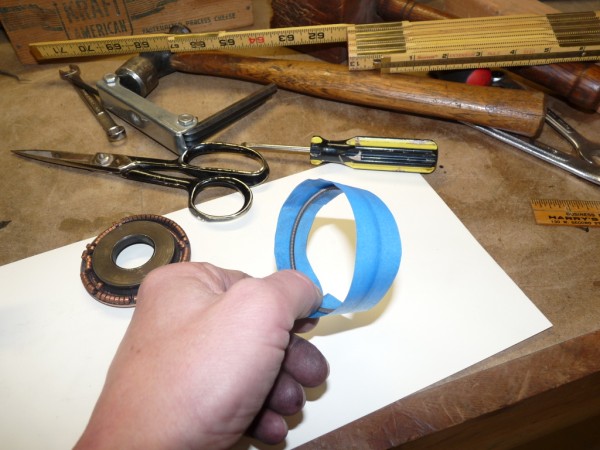
The diameter of the damaged necklace is about 2.5". Basic algebra (pi * diameter) suggests the circumference/length should be just under 8". To confirm, a very simple approach is to wrap the outside with tape, cut the tape, and measure the length.
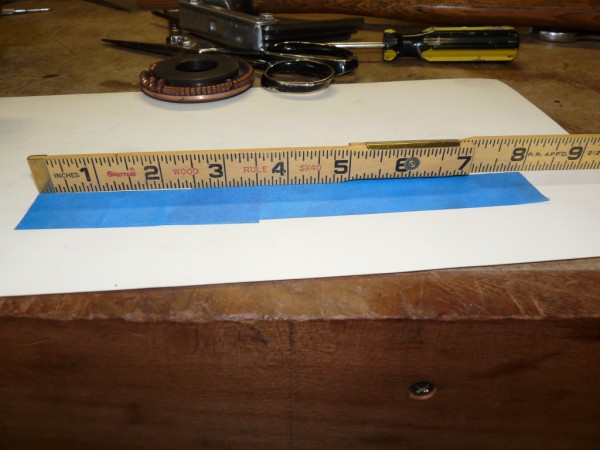
With the length of ~8" confirmed, on to making a new spring. The original OEM necklace is made out of an extension spring, using 3/32 .018 wire. That specific wire can be hard to find, but a very close approximation is a 1/8 .018 wire that is available from on-line sources such as McMaster-Carr (http://www.mcmaster.com). The 1/32 difference in outside diameter (OD) should not matter for purposes of this part. Because the old spring was deformed and stretched, the new piece that was cut for this project was about 1/2" shorter total length (7.5") than the original spring.
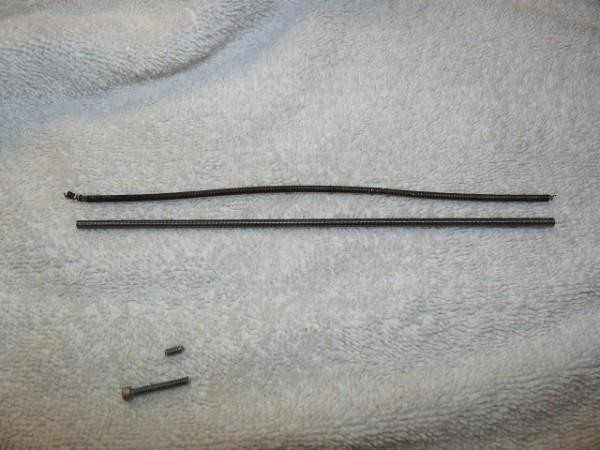
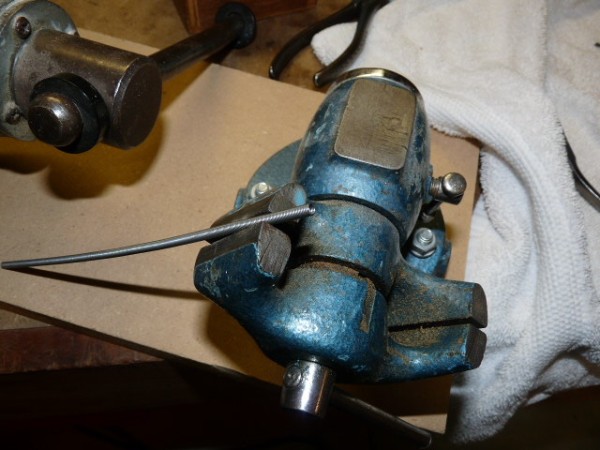
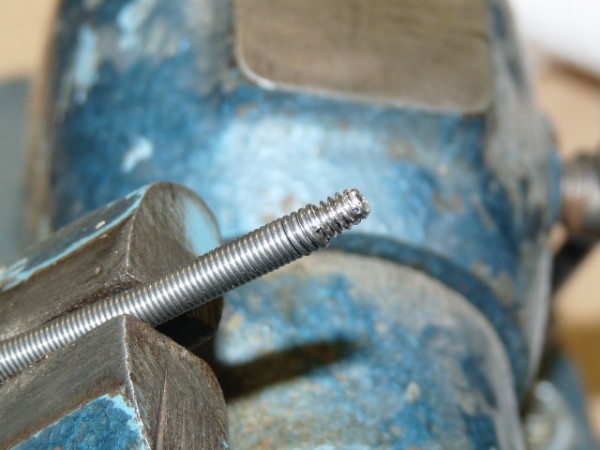
One of biggest challenges in making a new spring is figuring out how to connect the two ends solidly, without distorting the ring or adding significant weight through a load of solder, etc. The original necklaces were intertwined with one end twisted tightly inside the other end. Try as you might, though, that is a real challenge to do by hand. An alternative is to use a tiny connecting stud that threads inside the two ends of the spring. a 6-32 machine screw happens to fit almost perfectly inside the threads of the 1/8 .018 wire. Take a 6-32 machine screw, count up eight threads from the end, and cut it off, leaving a 1/4" miniature allthread stud.
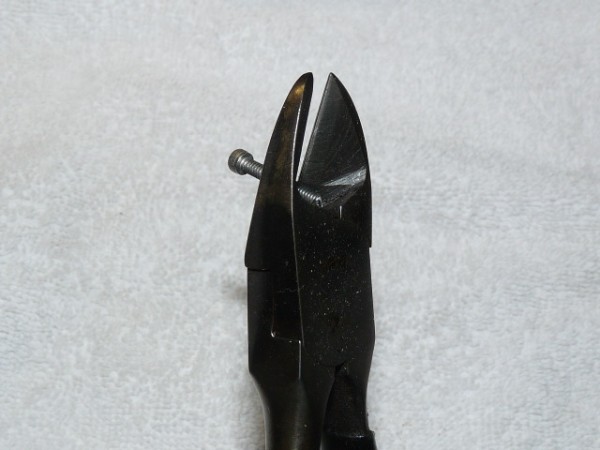
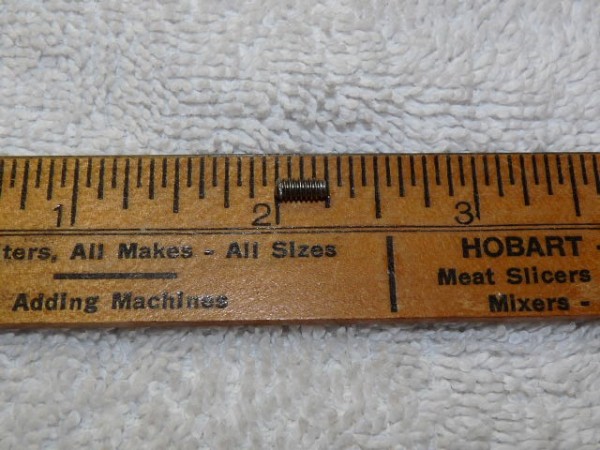
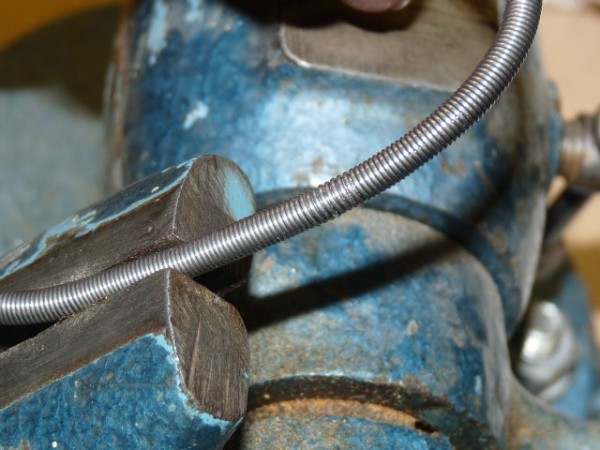
Clamp one end of the spring in a vise to get access to the end. Thread the stud halfway (about four threads) into the end of the spring. Then take the other end of the spring, which will form a loop, to prepare for the connection. Twist the open end four rotations in the direction opposite of the threading, so that there will be no rotational tension on the spring after it is installed, and thread it onto the remaining section of the threaded stud. It may be surprisingly easy, and also will be a surprisingly strong bond as the stud threads work their way between the coils of the spring. Once done, a drop of locktite may be added to seal the bond between the parts. The joint becomes almost invisible.

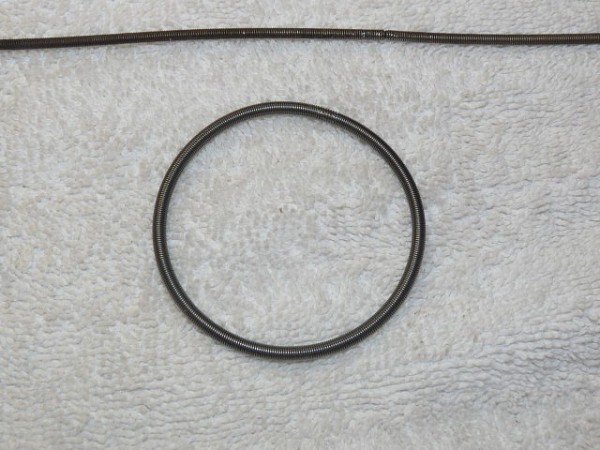
Now it's possible to test the new spring on the lathe jig that was developed earlier. The spring looks good when mounted, as the contacts appear to be held closed consistently.
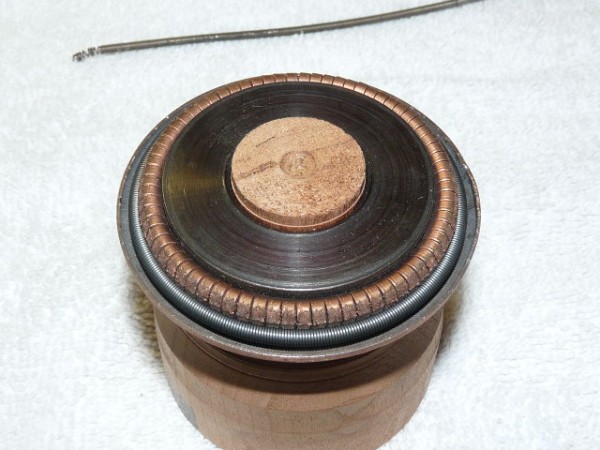
At 625 RPM, the ring still holds the contacts closed (again, photos taken with the lathe spinning at speeds noted).
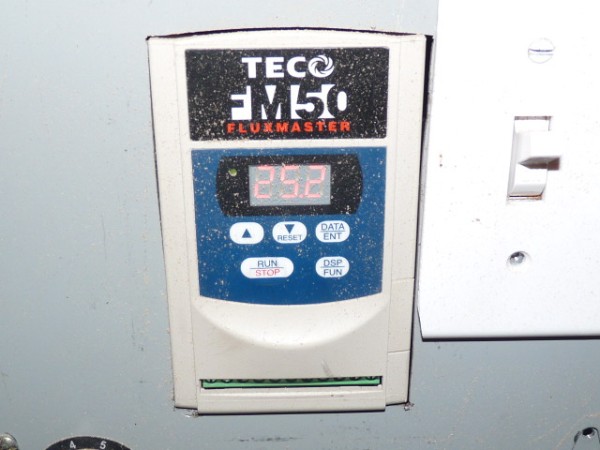
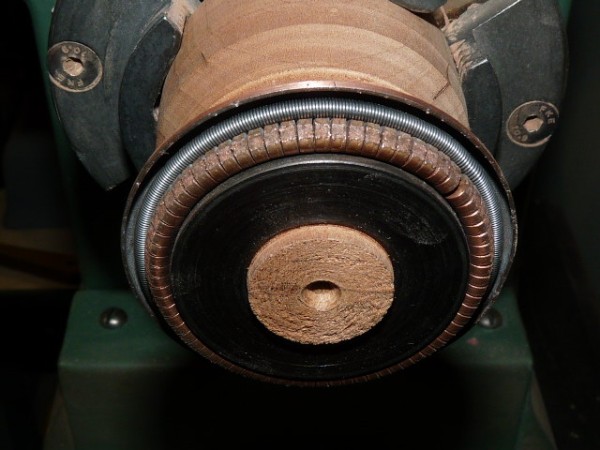
At 900 RPM, the contacts throw out smoothly and consistently around the perimeter.
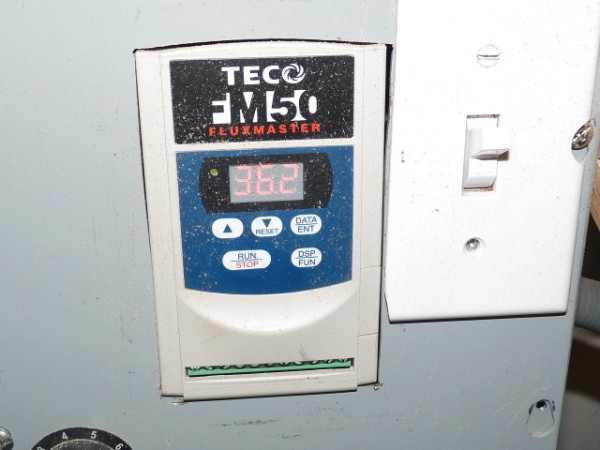
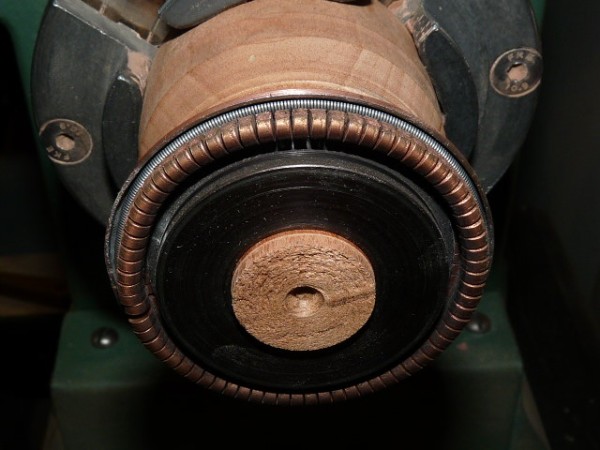
Running the speed control up and down several times, the opening and closing of the contact is very consistent with both an audible "click" and a visual evidence that it moves in and out smoothly. All is well, and it seems that the new shorting necklace is done and ready to go to work.
Replacing the Brushes