by Keith S. Rucker
Part 3 - Finishing up
Table of Contents [Hide/Show]
Part 3 - Finishing up
1 - Sunday, December 5, 2004
1.1 - Mount Bearings
1.2 - Installing New Tires
2 - Tuesday, December 7, 2004
3 - Saturday, December 11, 2004
4 - Monday, December 13, 2004
5 - Saturday, December 18, 2004
|
1 - Sunday, December 5, 2004
1.1 - Mount Bearings
With the bearings finally complete, the restoration process could finally get back into high gear. The bearing were mounted back on saw and the wheels were installed.
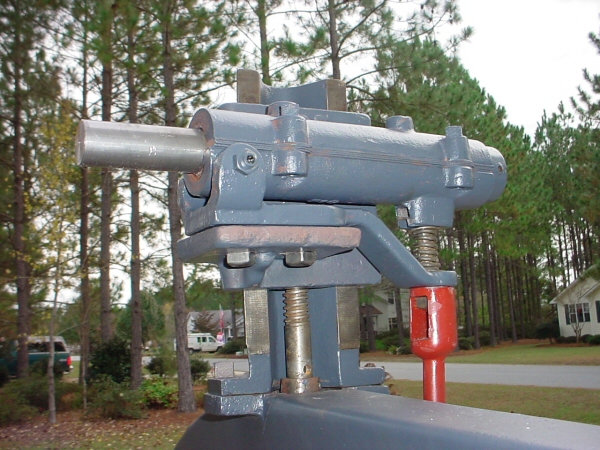 The upper bearing assembly installed and ready for the wheel |
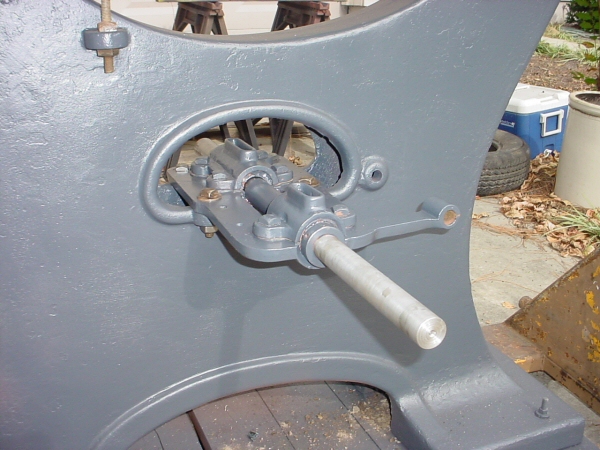 Lower bearing assembly ready for wheel and pulleys (shot from pulley side) |
1.2 - Installing New Tires
The next step was to install new rubber tires on the wheels. Rubber tires are necessary so that the band saw blade does not ride directly on the cast iron wheels, which would result in the metal wheels wearing down over time as the blade came in contact with the wheels as well as reducing the dulling effect on the blade which would occur if riding on metal wheels.
I ordered my tires from
Carter Products Company, Inc. I decided to go with the black Stretch On Rubber Tires rather than the "Ultra Blue" Urethane Tires simply because the blue tires would not look original on my restored saw. I also ordered two part epoxy to cement the tires to the rims of the saw. The tires came complete with instructions, written by none other than OWWM's own Bob Vaughan! Figuring that Bob knows well what to do, I followed the instructions to the tee.
Step one is to clamp the rubber tires to the wheels. Two small clamps are used with a block of wood between the clamp and the tire.
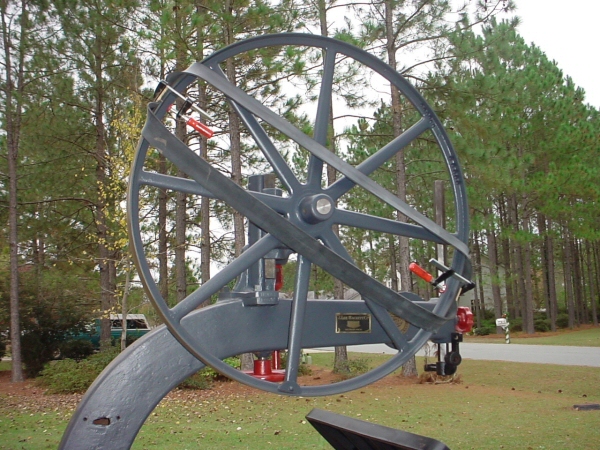
Next, stretch half of the tire into place. It actually was much easier than I suspected.
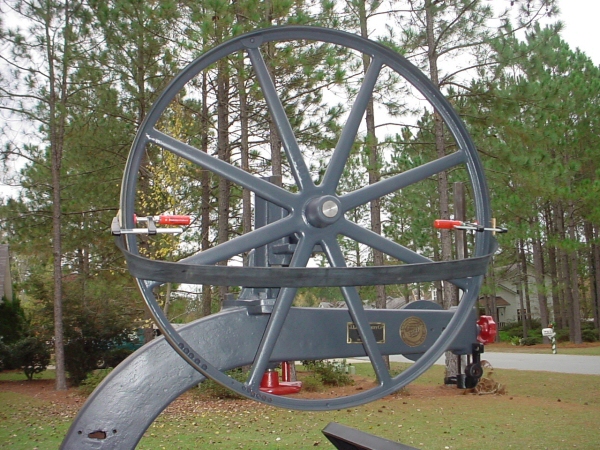
And finally, just stretch the other half into place. Remove the clamps and the tires are installed. Before cementing them into place, however, it is a good idea to make sure that the tension in the rubber tires is equal all the way around. To accomplish this, place a dowel or round rod of some kind between the tire and the wheel and roll it all the way around the circumference of the wheel a few times.
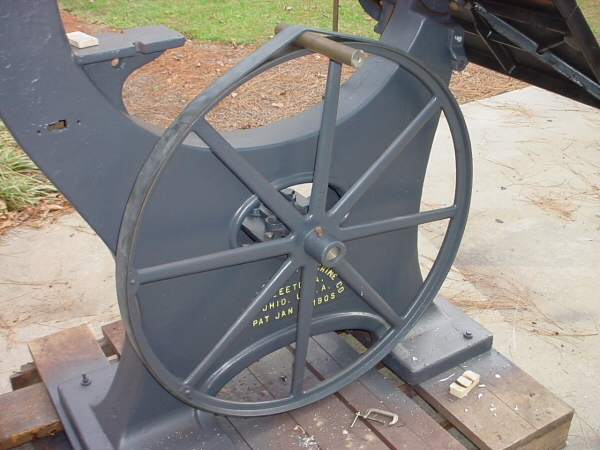
The next step is to glue the tires into place. Mix up the epoxy and then use the round rod you used to stretch the tires with to raise the tire up from the wheel. Using a wooden stick, apply a generous amount of epoxy between the tire and wheel, rolling the wheel all the way around until the entire wheel has been glued.
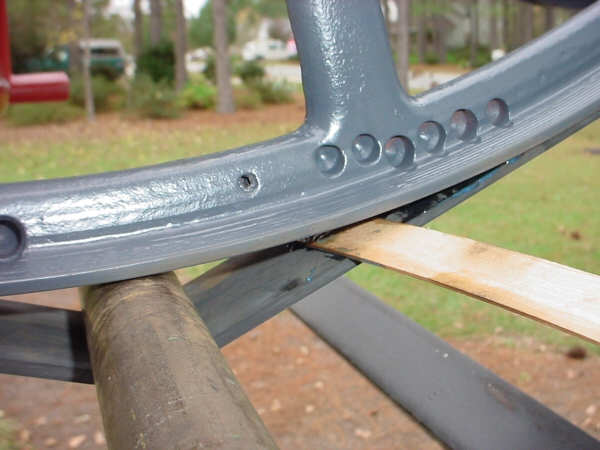
After you have let the epoxy set over night, the final step is crowing the tires. You want the tires to have a slight crown in the center for the blade to ride on. While it may not sound logical, the blade will actually ride up to the highest point when the wheels are turned. To keep the saw running in best condition, it is best to put this crown on your tires.
Fortunately for me, the engineers at Crescent actually machined the crown onto the actual wheels meaning that grinding a crown on my wheels was not necessary. If your wheels are not already crowned, there is some information on various ways to accomplishing crowning wheels in the FAQ section of this site.
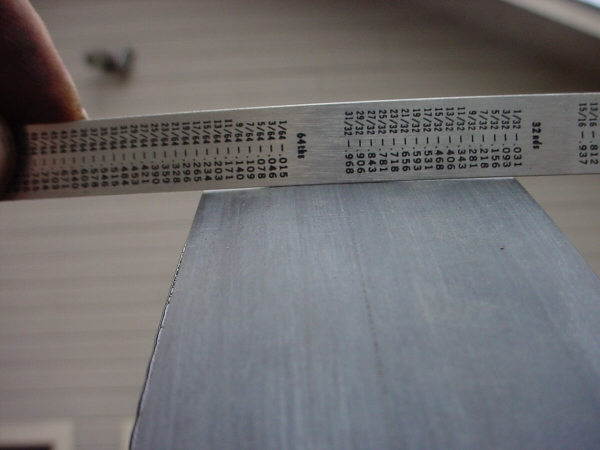 Notice slight crown in center of wheel. You can see light under both sides of the straight edge. The crown is actually greater than what this picture looks like. |
2 - Tuesday, December 7, 2004
Pearl Harbor Day. Kind of cool to think that when the Japs attacked us on this day in 1941, this Crescent band saw had already been in operation for around thirty years! No telling what this machine helped churn out for the war effort. Oh well, I digress.
Today, I spent some time installing the tight/loose pulleys. Unfortunately, the original pulleys had long been separated from this band saw when it was at some point in time converted to a vee-belt, motor driven machine. Since this machine will once again be run from flat belts and and overhead line shaft, I had to find a matched set of tight/loose pulleys. Tight/loose pulleys work by one pulley being tightened to the drive shaft and another pulley, installed right next to it having a bronze or babbitt bearing in it and turning freely on the shaft. The flat belt running up to the main line shaft would always be turning as long as power was on the line. To engage the machine, you would shift the belt from the loose pulley over to the tight pulley, which would power up the machine.
After doing some searching, I finally found a set of tight/loose pulleys that would work with this saw from a fellow OWWM'er. The pulleys I was able to get were a small bit narrower than the originals as well as about two inches greater in diameter. Not a big deal.
I turned a new bronze bearing for the loose pulley on my metal lathe and pressed it into place. Then two pulleys were then installed.
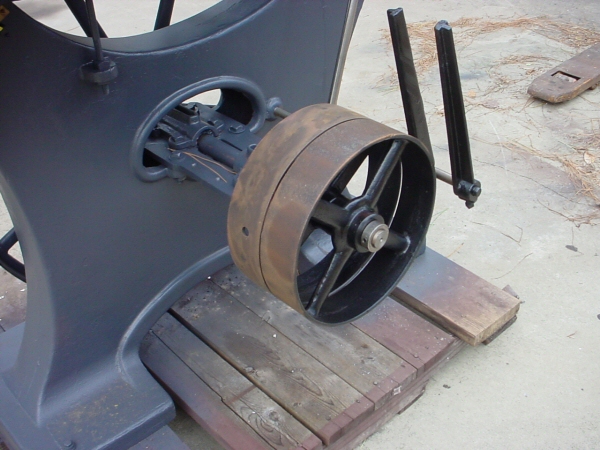 The tight/loose pulleys in place |
3 - Saturday, December 11, 2004
The next big challenge in finishing this band saw was re-creating the belt shifting linkage to allow the operator to shift the flat belt from the loose pulley to the tight pulley. Of course, all of the original linkage was long gone and all that I had to work from were some old catalog pictures.
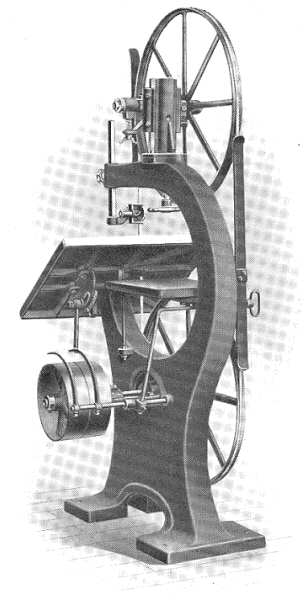 1910 Catalog scan showing shift linkage |
To begin with, I had to make the handle portion of the linkage that the operator grabs to pull or push the belt into place. I acquired a stick of 3/4" cold roll steel and using the blacksmith shop at the Georgia Agrirama Museum (where the band saw will be going to), I forged the shape of the handle. Step one down.
4 - Monday, December 13, 2004
The remainder of the shift linkage was made today. Because I was using pulleys that were slightly larger than original, I had to adapt things a bit to move the shifting forks a little further away from the pulleys. For the portion where the two pieces of rod meet perpendicular to one another at the base, I used a piece of 3/4" black pipe to slide on the 3/4" rod on the frame. On this, I welded a piece of 1 1/4" square steel with two 3/4" holes drilled in at 90 degree angles to one another - one to hold the shift handle linkage and the other to go to the shift forks. I salvaged two shift forks from my scrap pile - they are straight rather than curved but will do the same function.
Here are some close ups showing shift linkage
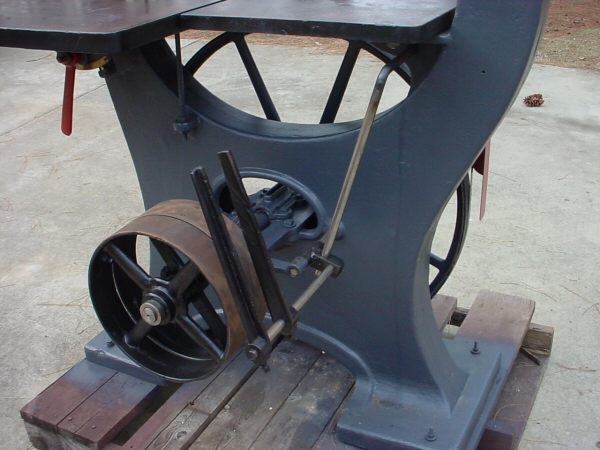
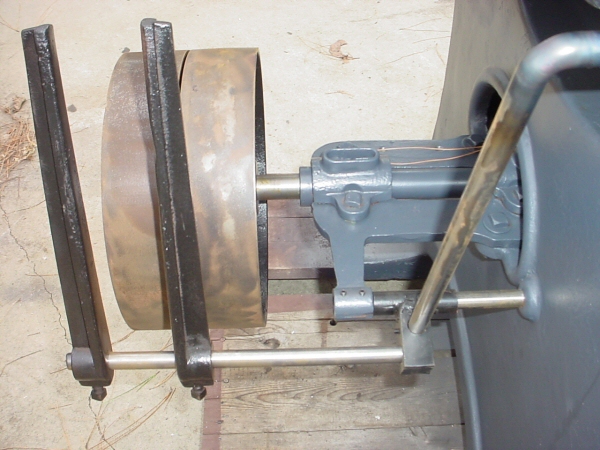
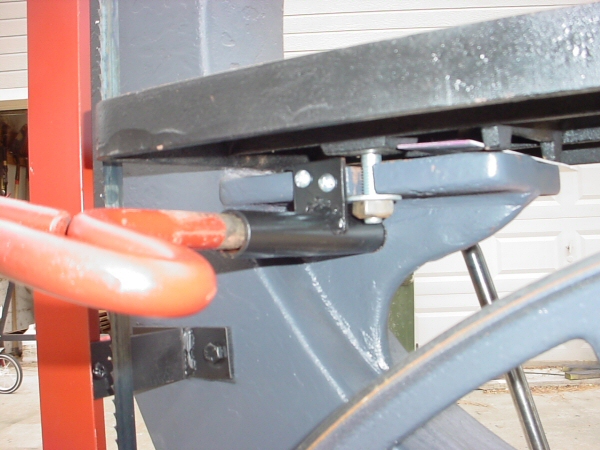
5 - Saturday, December 18, 2004
All that is left now is some finishing touches. The original machine had two blade fenders that offered some protection for the worker should they bump into the exposed blades while the saw was running. Trying to make the saw look as original as possible, I took the fender concept one step further by using aluminum angle rather than just a flat piece of metal that covered the back of the blade. The angle would offer more protection by covering two exposed sides of the blade rather than just one. I was able to cut the aluminum with a woodworking jig saw which allowed me to get a profile on the fenders that looked somewhat original.
I touched up some paint here and there and installed a blade and the saw was finally complete! The total restoration took just a few days less than three months. Not too bad considering that I was down for six weeks and unable to do anything on the project while I waited for the new castings to be made. All in all, this restoration is a bit more complicated than most of my restoration projects (mainly due to the broken castings) but fun and gratifying project none the less.
The only minor thing that remains to be done is replace some parts on the Wright guides. When I got the saw, it did not have the original Wright guides but a fellow OWWM'er had a set he was not using and sent them my way. They needed new pads on the jaws and the bottom guide needed a new bearing and wheel. The parts have been ordered but have not come in yet. As soon as they get here, it will take all of about five minutes to install them.
Here are some "finished" pictures of the saw.

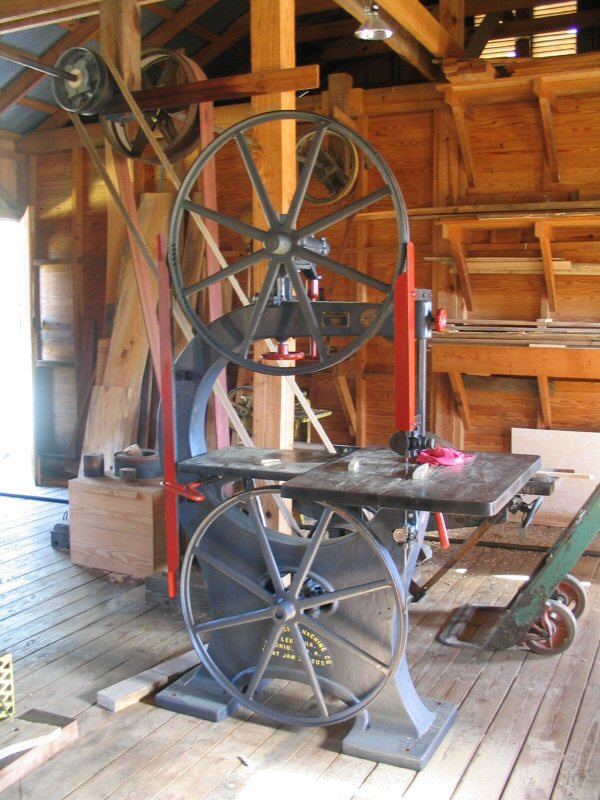 The finished saw installed at the Georgia Agrirama |